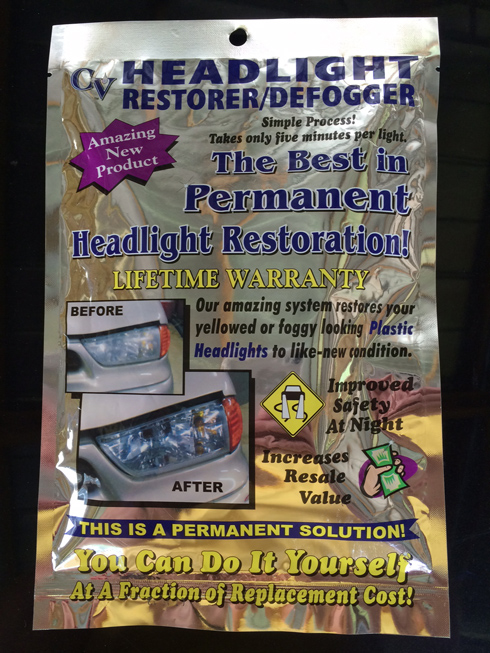
The headlights on my wife’s car had become clouded and were in desperate need of a good restoration. Taking advice from a friend of mine, I purchased a Crystal View Headlight Restorer/Defogger kit from one of the local auto parts stores for just over $20. You can easily find several different restoration kits from various manufacturers. I have no idea if one is better than another but I’m pleased with the results of this kit (and my wife is as well).
This isn’t a run-down of the process. To put it simply, I followed the directions exactly as outlined in the included instructions with only one exception (the addition of masking tape around the edges).
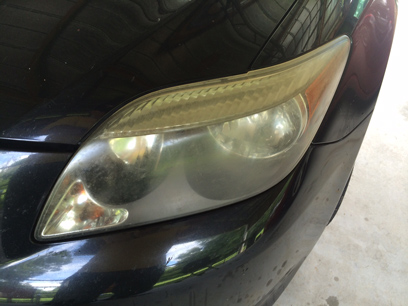
Here’s a photo of both headlights after I washed them, but before I started working on them:

Here’s a close-up of one of the headlights. You can clearly see the pitting and yellowing that has occurred over time (it’s not dirt, this is after washing them):
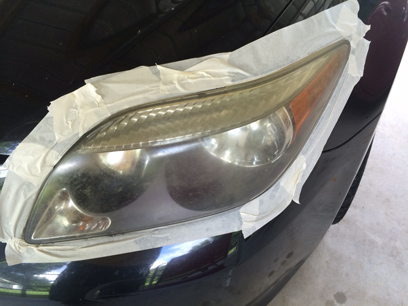
Here’s the one exception, which may not have been in the instructions but that I intended to do regardless. I placed masking tape around each headlight to ensure that none of the chemicals touched the surrounding painted areas (I don’t remember if the yellowing is less obvious here because of a change in light levels – it’s possible I took this after one of the earliest steps):
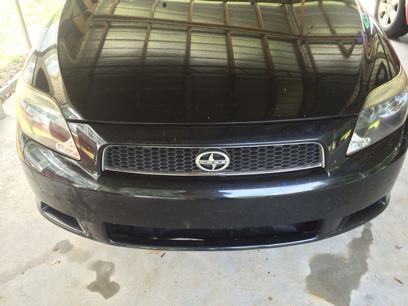
And here’s a photo of both restored headlights followed by a close-up of the passenger-side headlight:


Leave a comment