About a month ago my dryer stopped… drying. It wasn’t slow to dry. There was no heat. None. This lead me to conclude that it was most likely the heating element or one of the sensors attached to it. Now, up to this point I had never actually replaced one, but after doing some research it didn’t seem to be too difficult. Before going this route I checked to determine if I had a warranty on the dryer but it turns out that I did not. In addition, even if I had a three year warranty it would have expired five days prior!
I used this video as a guide during the brief research phase, and later, as I was actually replacing it:
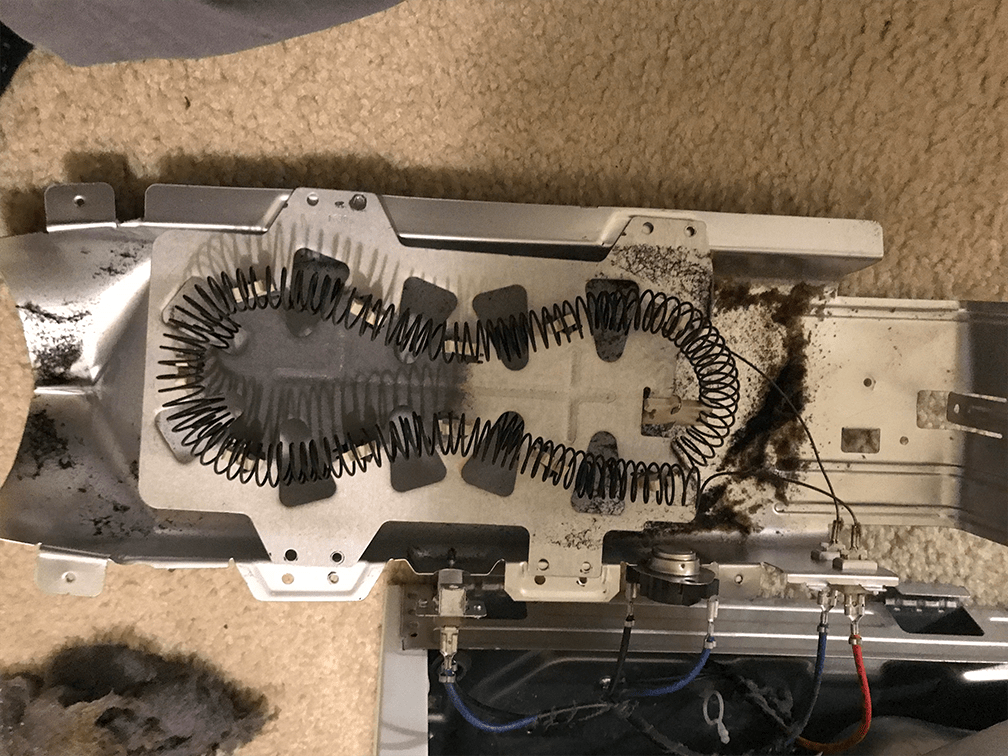
For the most part, my experience was very similar though when I watched the video I knew that the part at the 2 minute mark, where the assembly containing the element was removed from the bracket, was going to be more difficult than shown in this video. And sure enough, it was (I easily spent 15 minutes on this part, mostly because of the cramped and sharp conditions that made it a bit awkward to reach three screws not in this video/model). My model has a screwn that attaches the assembly to the bracket, which was a bit difficult to deal with, as well as two on the inside at the base of the bracket.
Once again, I applied a bit of experience that my older brother taught me many years ago. If you’re going to work on something that you’re not familiar with, always take a photo before you start the work so you have a guide for putting it back together.
If you’ve got any kind of thin gloves that would work well in small areas, this would be the place to use them. I had several fine cuts from the metal in those parts.
After verifying compatibility, and reading through several questions and reviews, I decided to order a replacement kit that contained a new element and several thermostats/sensors for about $30 from Amazon. I didn’t bother to check which part had failed; I simply replaced everything except the blower thermostat.
If this isn’t something that you’re comfortable working on, then don’t. As always, make sure the appliance is unplugged before you do anything with it and ensure that all electrical connections are back where they belong and fit tightly.
So far it has worked just fine – no issues.
In the process I also discovered a lot of lint in the bottom of the dryer and vacummed out as much as I possibly could. I even discovered that some had gotton up near the heating element.
In addition to learning that it’s recommended that this area be cleaned out every two years (something I was unaware of, but am now paranoid about) I also realized that the original installers (a big hardware company you’re likely familiar with) had put the dryer too close to the wall and severely crimped the exhaust hose. I pulled it out as far from the wall as I could, pulling the washer up to match, and ended up removing the laundry closet doors to ensure it was up far enough.


Leave a comment