
We bought a Vicks Vaporizer a few years ago. Last season we noticed that its performance had degraded and this week, when I filled it up and plugged it in, it didn’t appear to be working. I figured it probably needed to be cleaned but I wasn’t certain how so I located some posts in a few forums that described the basic process. Fortunately, it’s very simple.
I can’t take credit for this little trick but I did grab a few photos along the way.
Before you do anything make sure that you’ve unplugged the unit and leave it unplugged until finished. You don’t want to get electrocuted cleaning out an inexpensive humidifier.
The basic problem, at least in our case, was that minerals from the water had built up around the rods used for heating the water, significantly reducing their efficiency.

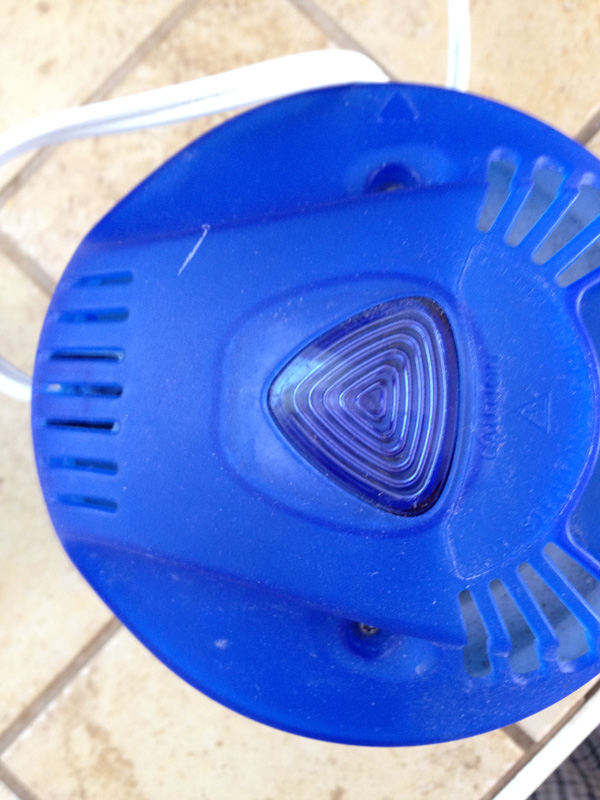
The rods can be accessed by removing two torx screws from the top of the humidification unit. Once removed, the blue top with the rods can be slid away from the black plastic that covers the rods.
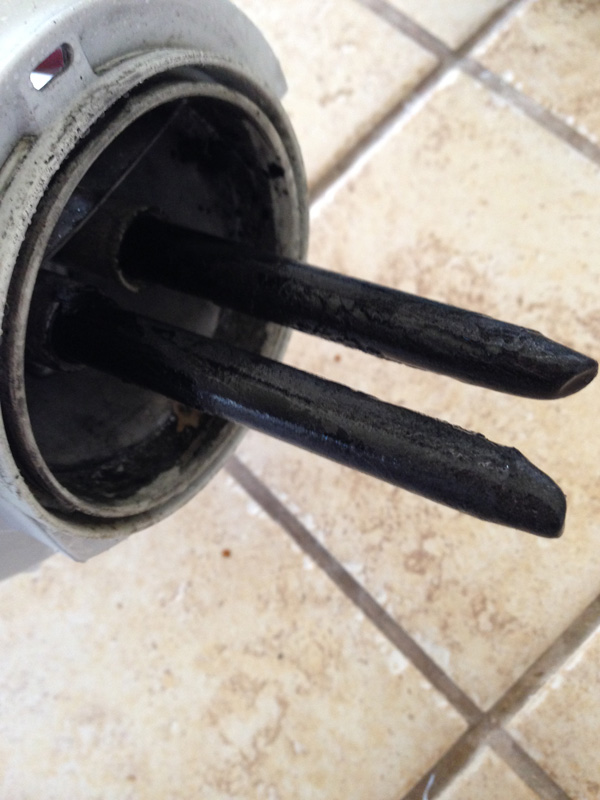
In the photo below you can see the mineral deposits covering the rods. The minerals are a dark black while the rods are a dark gray in color.

The rods can be scrapped clean gently using a knife or similar tool:
Once the rods have been cleaned you can reassemble to unit, drop it onto the reservoir, and turn it back on. It may still take a while for the humidifier to put out any steam – the steam is generated by boiling the water so it must first heat up the water within the black, plastic cover.


Leave a comment